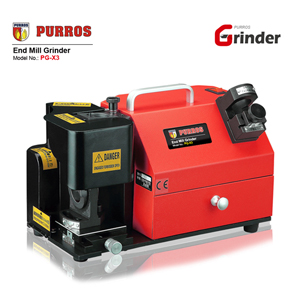
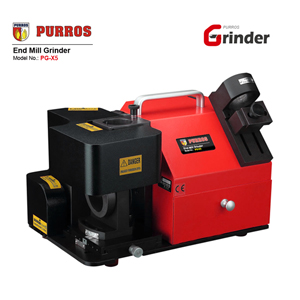
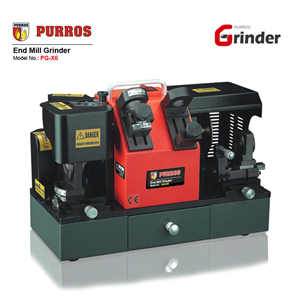
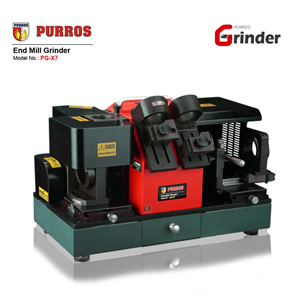
Just due to the fact that an end mill becomes dull doesn’t mean you have to scrap it or buy a new one. You can easily regrind an end mill to be sharp again using a special fixture that enables you to grind the relief angle and the edge. By thoroughly following a strict procedure you can save many of dollars and save end mill from the scrap bin.
So how do we use the end mill grinder to repair the end mill?
Tips
1. Cut off the dull edges of the end mill with a cut-off saw. You need to start with a new surface to grind the end mill successfully.
2. Place the end mill into the grinding fixture. The fixture has the functionality to grind the edges of the end mill at two different angles. The first angle is the relief so that the end mill runs out the way during the cut. The second angle will put a tool edge onto the flute being solid ground for the cutting.
3. Tighten the basic wrench head screw to make tighter the collect in the fixture to securely hold the end mill. The end mill must be held securely as to not cause damage to the grinding wheel. If the end mill comes loose during the grinding process it may cause damage to the wheel.
4. Put the fixture on the appealing grinding table in the flat position. This will allow you to grind the relief first. Place it to make sure that one side of the fixture is resting against a flat surface. Place a block against the front lip of the table and then place the fixture against the block so that it is near the center of the table. The fixture should be straight to assure that your grinding is straight as well.
5. Take the wheel to just above the first flute at the highest visible point. Carefully lower the wheel until you see and know it grinding. Be careful to not plunge too quickly as you may damage the wheel and the end mill.
6. Turn the handle on the front of the grinder to transport the table in a left to right motion. Remain to lower the grinding wheel while moving the table side to side until you have the correct amount of relief, which is dependent on the end mill size and amount of flutes.
7. Turn the fixture counter-clockwise and repeat this operation to the other flutes. The top part of the fixture will move but keep the base in the same position. You want this operation to make the end mill look like it was when you having it from the factory. The fixture will systematically line up the next flute for you.
8. Push the fixture forward to grind at the angle required to sharpen the end mill. Repeat Steps 5 through 7 at the new angle. This will sharpen the end mill and it will run as a new end mill.
If you are using PURROS end mill grinding machine, please read the operation instruction carefully. If you can’t find your grinding machine operation instruction, download it to our download page.


